
Setting Up HP Printer: From Unboxing to Printing, A Step-by-Step Guide for Easy Configuration

How to Connect Your Printer to a Laptop or Desktop: A Beginner’s Guide
April 15, 2015
Canon Setup Guide: A Step-by-Step Journey to Configuring Your Canon Printer
October 22, 2016
Setting up an HP printer for the first time may seem like a daunting task, but with the right guidance, it can be a straightforward process. This step-by-step guide will walk you through everything from unboxing your HP printer to completing your first print job. Whether you’re configuring it for home or office use, follow these instructions for a hassle-free setup.
Step 1: Unboxing Your HP Printer
The first step in setting up your HP printer is to unbox it properly, ensuring that you have all necessary components.
- Remove the Packaging:
- Open the box and carefully remove the printer along with all accessories, including ink cartridges, power cable, and user manuals.
- Check for Accessories:
- Ensure that you have the ink cartridges, power cord, a USB cable (if included), and a quick start guide or user manual.
- Remove Protective Tape:
- Your HP printer will likely have protective tape and packaging material inside and outside. Be sure to remove these to prevent any issues during setup.
Step 2: Power On and Install Ink Cartridges
Once the printer is unpacked, you’ll need to connect it to a power source and install the ink cartridges.
- Plug in the Power Cable:
- Connect the power cable to the back of the printer and plug it into a wall socket. Press the Power button to turn on the printer.
- Install the Ink Cartridges:
- Open the printer’s cartridge access door (refer to the user manual for location). Insert the provided ink cartridges into their respective slots, making sure they click into place securely.
- Printer Initialization:
- After inserting the cartridges, the printer will run a quick initialization process. You may see some lights blink as the printer readies itself.
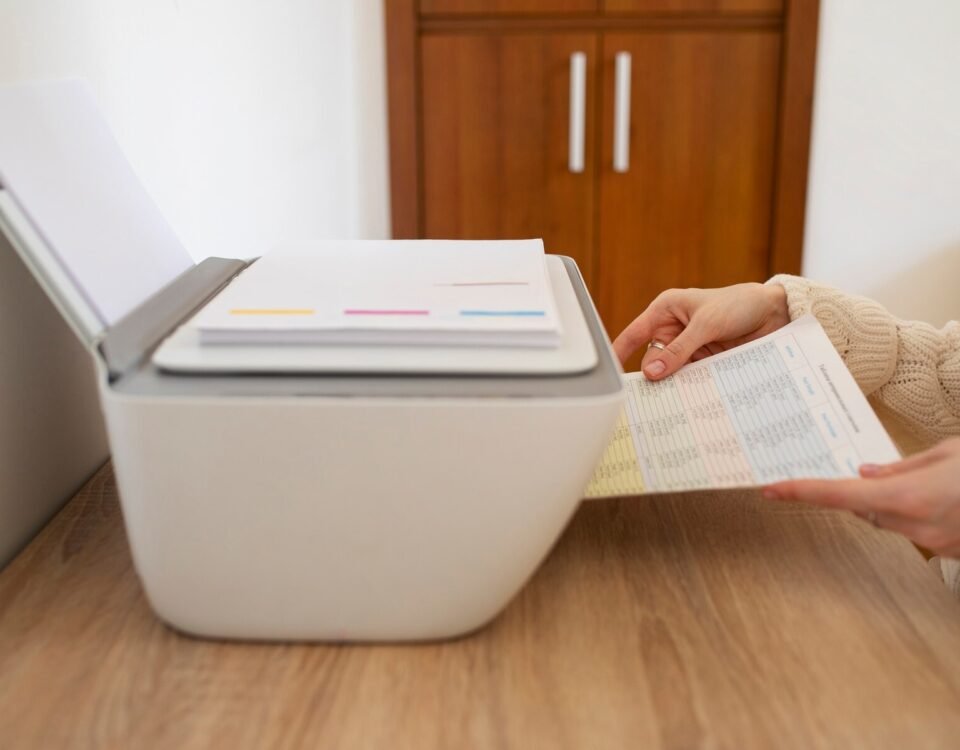
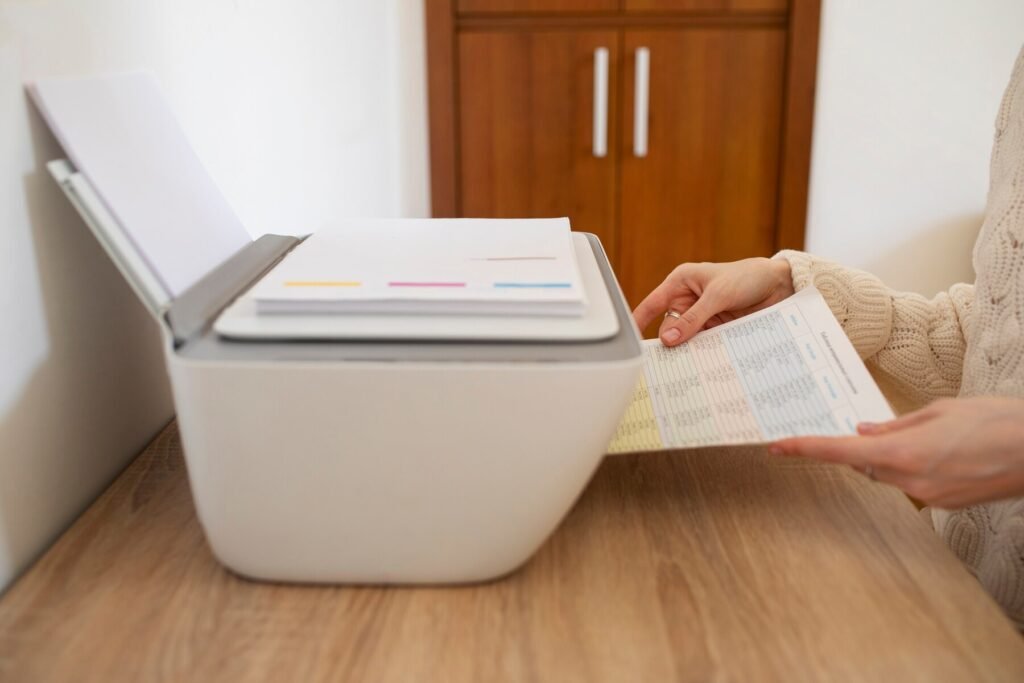
Step 3: Load Paper into the Printer
To ensure you can start printing, you’ll need to load paper into the tray.
- Open the Paper Tray:
- Pull out the paper input tray located at the front or bottom of the printer, depending on your model.
- Adjust the Paper Guides:
- Adjust the paper guides to fit the size of the paper you’re using, typically standard A4 or letter-size.
- Insert Paper:
- Place a stack of paper into the tray, ensuring that it is flat and aligned. Slide the paper guides to hold the paper firmly in place without bending it.
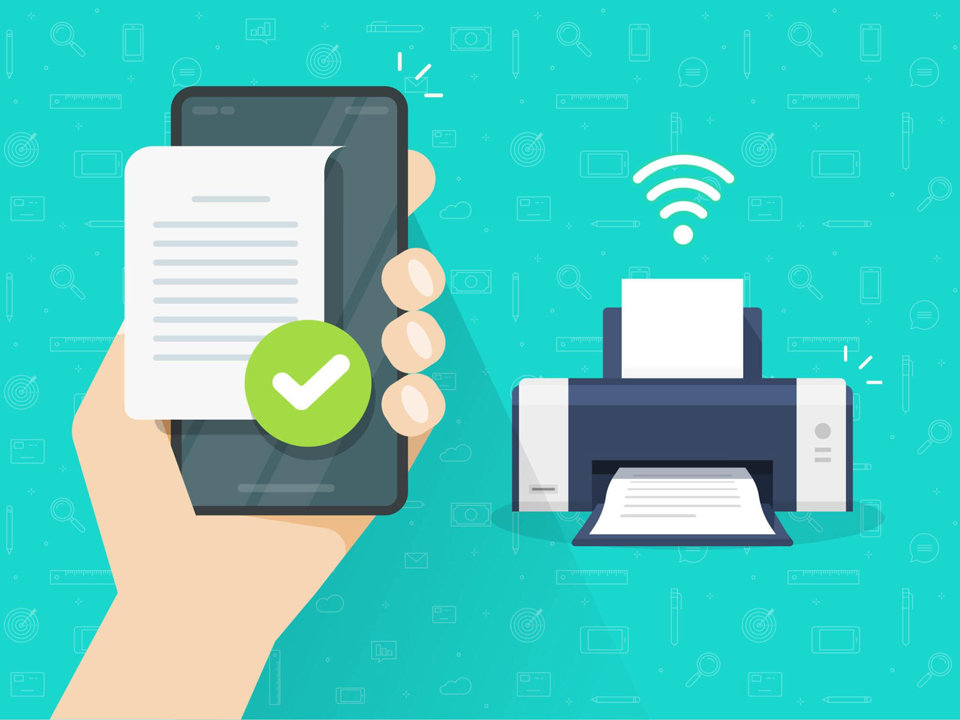
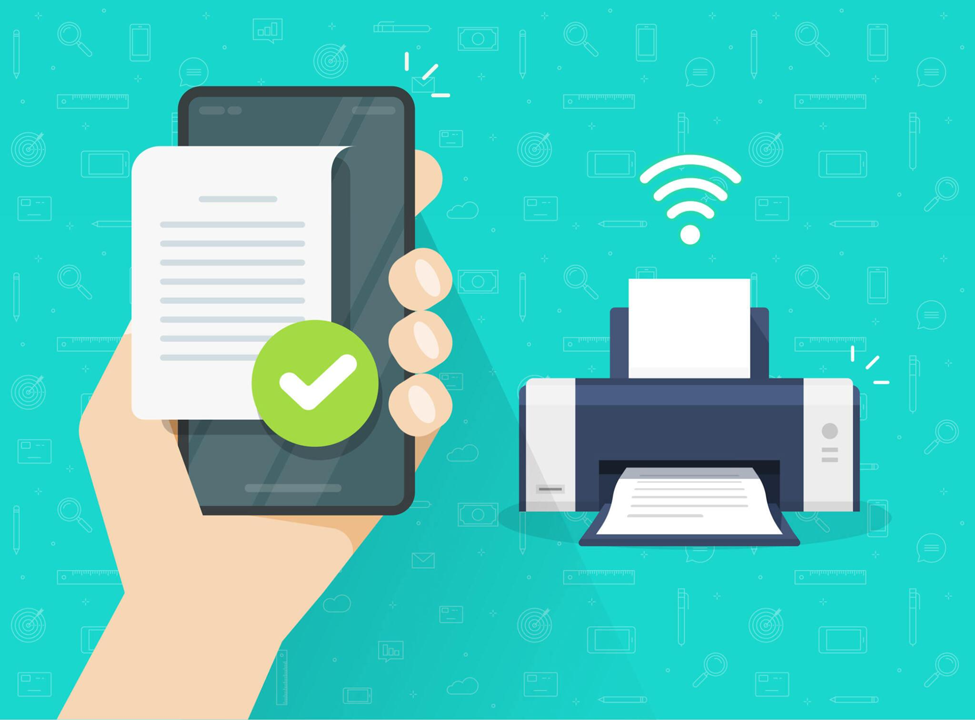
Step 4: Connect the Printer to Wi-Fi (Wireless Setup)
If you’re using an HP printer with wireless capabilities, connecting it to your Wi-Fi network allows you to print from any device without cables.
Option 1: Using the Control Panel
- Access the Wi-Fi Settings:
- On the printer’s control panel, navigate to the Wireless or Network settings menu.
- Select Wi-Fi Setup:
- Choose Wi-Fi Setup Wizard and let the printer search for available networks.
- Choose Your Network:
- From the list of available Wi-Fi networks, select your network and enter the Wi-Fi password. Once connected, the wireless indicator on the printer should light up.
Option 2: Using the HP Smart App
- Download the HP Smart App:
- Install the HP Smart App from the App Store or Google Play on your smartphone or tablet.
- Connect Your Printer:
- Open the app and follow the on-screen prompts to connect the printer to your Wi-Fi network. The app will guide you through the entire process, making it easy even for beginners.
Step 5: Install Printer Software and Drivers
To ensure your computer or mobile device can communicate with the printer, you’ll need to install the necessary drivers.
- Visit HP’s Website:
- Go to HP’s support website and search for your specific printer model.
- Download the Driver:
- Download and install the drivers for your operating system (Windows, Mac, iOS, or Android). The installer will guide you through the process, including setting up the printer connection and configuring print settings.
- Follow On-Screen Instructions:
- During installation, select the Wireless or USB connection, depending on your setup, and complete the process.
Step 6: Print a Test Page
After the printer is connected to your Wi-Fi and the drivers are installed, it’s time to test the setup.
- Print from Your Computer:
- Open any document or image on your computer and select Print. Ensure that the HP printer is selected as the default printer. Click Print to start the job.
- Print from a Mobile Device:
- Open the document or image you want to print on your smartphone or tablet, tap the Share button, and choose Print. Select your HP printer from the list of available printers.
Step 7: Troubleshooting Common Setup Issues
If you encounter issues during setup, here are some quick fixes:
- Printer Not Connecting to Wi-Fi:
- Ensure the printer is within range of the router and that the Wi-Fi password entered is correct. Restart both the printer and router if needed.
- Slow Printing:
- If the printer is printing slowly over a wireless connection, consider moving it closer to the router or using a wired connection.
- Printer Shows Offline:
- If the printer status is “offline,” check the network connection. Reinstall the drivers or restart the printer to resolve the issue.
Conclusion
Setting up your HP printer doesn’t have to be a complicated process. With this step-by-step guide, you can quickly unbox, configure, and connect your HP printer to your devices, allowing you to start printing right away. Whether you’re setting up a new home office or just need a reliable printer for personal use, following these instructions ensures a smooth and efficient setup experience.
