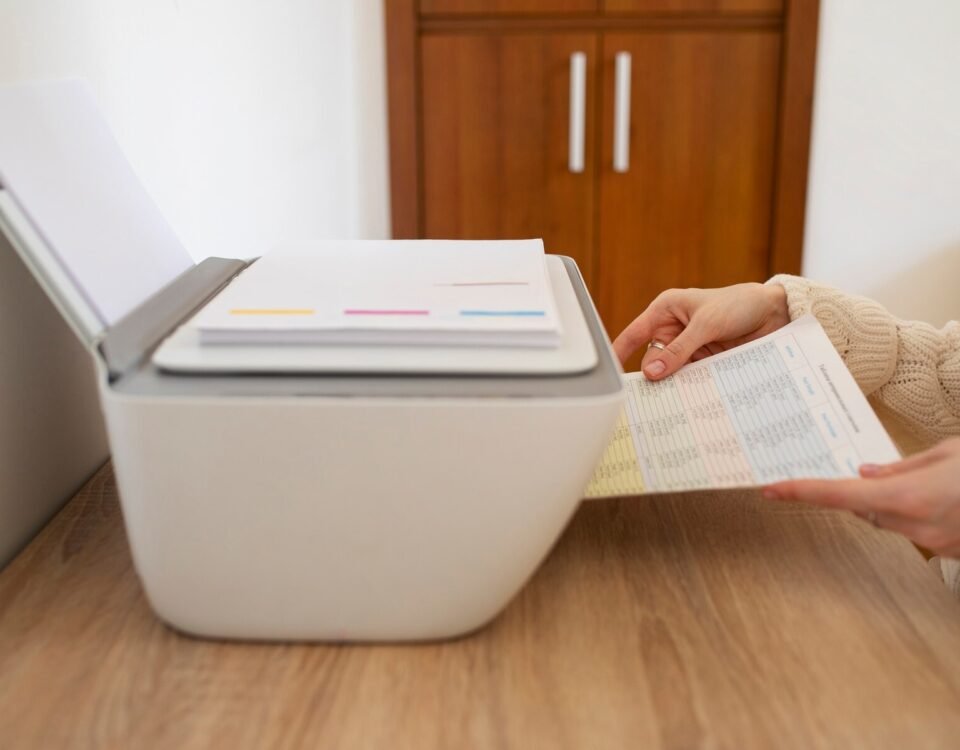
Canon Pixma TS3522 Wireless Setup: Effortless Connection for Wireless Printing Flexibility
November 13, 2018
Printer Offline but Connected to WiFi? Common Causes and Fixes
May 20, 2020Setting up your HP LaserJet P1102w printer for wireless connectivity can seem daunting at first, but it’s actually a straightforward process. Once configured, you can print from any device on your network without needing to connect cables. This guide will walk you through the necessary steps to get your printer up and running on WiFi.
Step 1: Gather Your Network Information
Before starting the setup process, make sure you have the following details:
- WiFi Network Name (SSID): The name of the network you want to connect your printer to.
- WiFi Password (WEP, WPA, or WPA2): The security key for the wireless network.
- Computer or Mobile Device: You will need a device connected to the same network as your printer.
Step 2: Install the HP LaserJet P1102w Printer Driver
You’ll need the appropriate printer driver installed on your device before connecting the printer wirelessly. Here’s how to do it:
- Download the Latest Driver:
- Go to the HP Support website.
- Search for the HP LaserJet P1102w.
- Download the latest version of the driver software for your operating system (Windows or Mac).
- Install the Driver:
- Open the downloaded file and follow the on-screen installation instructions.
- During the installation, choose the option for Wireless Setup when prompted.
Step 3: Connect Your Printer to WiFi Using WPS
If your router supports WPS (WiFi Protected Setup), this is the quickest way to connect your printer to the network.
- Power on Your Printer:
- Ensure the HP LaserJet P1102w printer is turned on and ready.
- Activate WPS on the Printer:
- Hold the Wireless Button on the printer for about 2 seconds until the wireless light starts blinking.
- Activate WPS on Your Router:
- Press the WPS button on your WiFi router within two minutes of activating WPS on the printer.
- Wait for the Connection:
- The wireless light on the printer will stop blinking and remain steady when the connection is successful.
Step 4: Manually Connect to WiFi (Without WPS)
If your router doesn’t support WPS, you can manually configure the printer’s wireless settings.
- Print a Configuration Page:
- Press and hold the Cancel button (the red “X”) on the printer until the printer starts printing a configuration page.
- Look for the IP Address listed on the page.
- Access the Printer’s Embedded Web Server (EWS):
- Open a web browser on a device connected to the same network.
- Type the printer’s IP address into the browser’s address bar and press Enter.
- This will open the printer’s Embedded Web Server.
- Set Up Wireless Network:
- In the EWS, navigate to the Networking or Wireless tab.
- Enter your WiFi network’s SSID and password.
- Apply the changes and restart the printer.
Step 5: Verify the Wireless Connection
Once you’ve completed the setup, confirm that the printer is successfully connected to your wireless network:
- Check the Wireless Light:
- The wireless light on the printer should be solid, indicating it’s connected to the network.
- Print a Test Page:
- Go to your computer or mobile device.
- Open a document and attempt to print. If the printer is listed as a wireless device, select it and print a test page.
- Recheck Network Settings:
- If the printer is not visible, ensure your device is connected to the same WiFi network and try searching for the printer again.
Step 6: Use HP Smart App for Mobile Devices (Optional)
If you plan to print from mobile devices like smartphones or tablets, the HP Smart App is a convenient tool for managing your printer:
- Download the HP Smart App:
- Available on both iOS and Android, the HP Smart App allows you to print, scan, and manage settings wirelessly.
- Add Your Printer:
- Open the app and follow the prompts to add your HP LaserJet P1102w printer.
- Print or Scan Wirelessly:
- Once added, you can start printing from your mobile device using the app.
Troubleshooting Wireless Setup Issues
If you encounter problems during the setup process, here are some common issues and solutions:
- Wireless Light Blinks Continuously:
- Ensure you entered the correct WiFi password. You may need to re-enter the credentials in the Embedded Web Server.
- Cannot Find Printer on Network:
- Restart your router and printer. Ensure your device is connected to the same network and not a guest network.
- Printer Shows Offline:
- This can happen if there are communication issues between the printer and network. Try restarting both the printer and your router.
- WPS Connection Fails:
- If WPS isn’t working, try using the manual setup method via the Embedded Web Server.
Conclusion
Setting up the HP LaserJet P1102w for wireless connectivity allows you to print conveniently from any device connected to your network. By following these steps, you can configure your printer, troubleshoot any issues, and enjoy the ease of wireless printing. Once connected, you’ll have the flexibility to print from computers, smartphones, and tablets without worrying about cables or direct connections. Happy printing!


