
HP DeskJet 4155e Setup: Simplifying Printer Configuration for Users

How to Set Up Your Printer Scanner for Seamless Document Scanning
November 5, 2014
How to Connect Your Printer to a Laptop or Desktop: A Beginner’s Guide
April 15, 2015
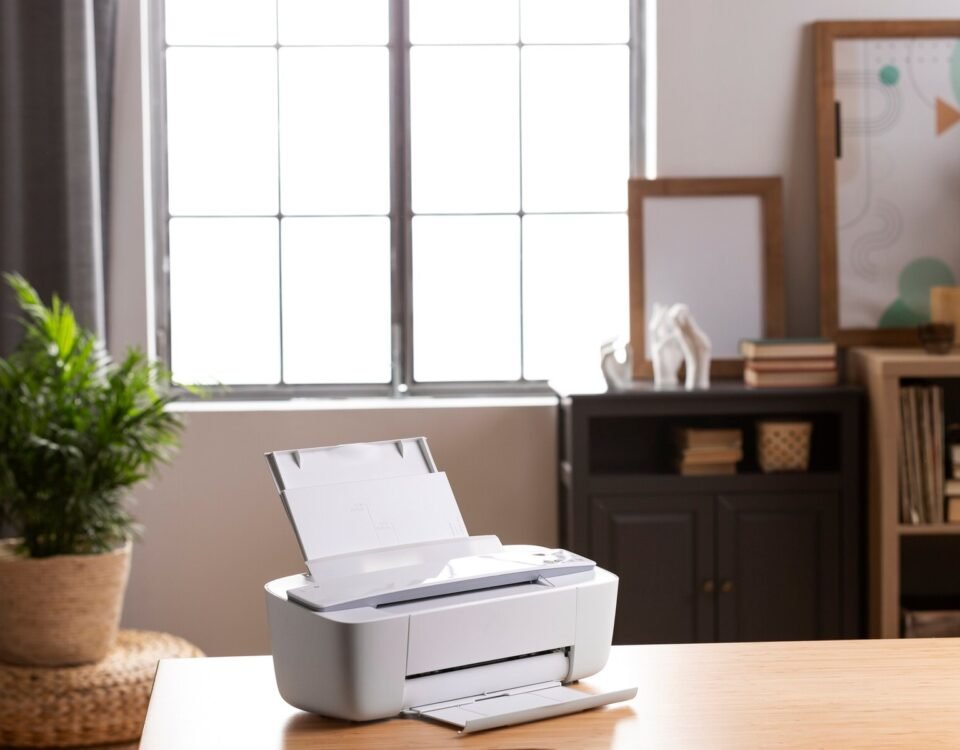
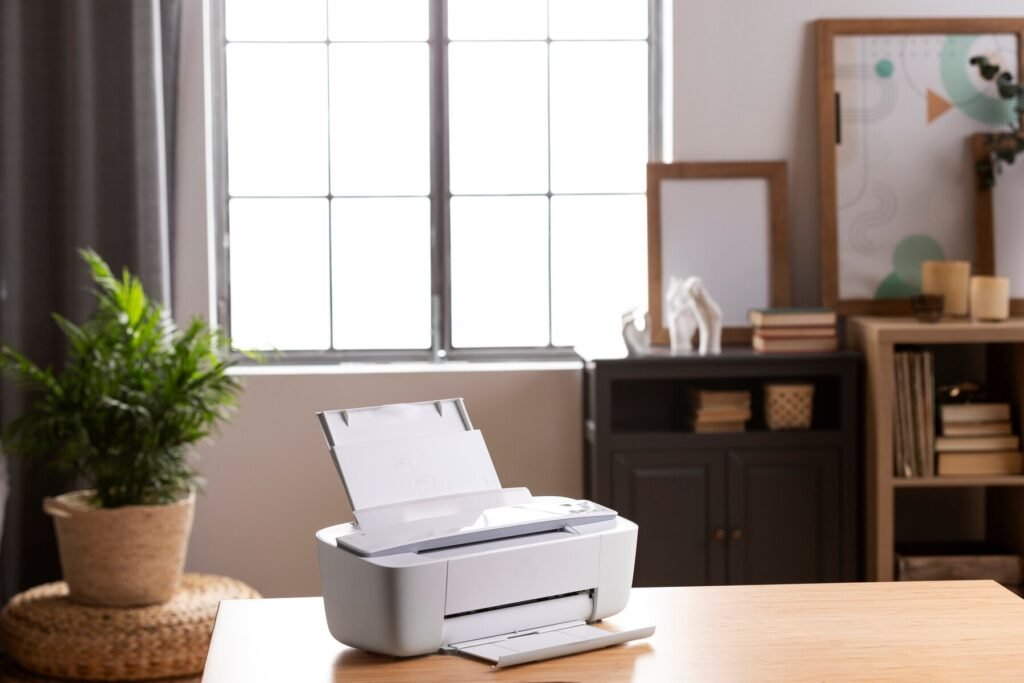
Setting up the HP DeskJet 4155e can seem daunting at first, but with the right guidance, the process becomes simple and user-friendly. Whether you’re a home user or someone looking for a quick setup in your small office, this step-by-step guide will walk you through the printer configuration process, from unboxing to getting your first print.
Step 1: Unboxing the HP DeskJet 4155e
Before diving into the setup, ensure you have all the necessary items.
- Unbox the Printer:
- Remove the HP DeskJet 4155e from its packaging.
- Ensure you have the power cord, ink cartridges, and user manual.
- Remove Protective Tape and Packaging:
- Open the printer and remove any protective tape or packaging material from both the outside and inside of the printer.
Step 2: Power On the Printer
- Plug in the Printer:
- Connect the power cord to the printer and plug it into a power outlet.
- Turn the Printer On:
- Press the power button to turn on the printer. The power light should come on, indicating the printer is ready for setup.
Step 3: Install Ink Cartridges
- Open the Ink Cartridge Access Door:
- Lift the access door located at the front of the printer. The ink carriage will move to the center.
- Insert Ink Cartridges:
- Unwrap the black and tri-color cartridges that came with the printer.
- Insert each cartridge into its respective slot (black on the right, color on the left) and push until it clicks into place.
- Close the Access Door:
- Once the cartridges are installed, close the access door.
Step 4: Load Paper into the Printer
- Pull Out the Input Tray:
- Locate the input tray at the back of the printer and pull it out.
- Load Paper:
- Insert a stack of plain, white paper into the input tray, aligning it properly.
- Adjust Paper Guides:
- Slide the paper width guide so it fits snugly against the stack of paper without bending the sheets.
- Pull Out the Output Tray:
- Pull the output tray located at the front of the printer to catch printed documents.
Step 5: Wireless Setup with HP Smart App
One of the most convenient features of the HP DeskJet 4155e is its wireless capability. To configure your wireless connection, follow these steps using the HP Smart App.
- Download the HP Smart App:
- On your smartphone, tablet, or computer, download and install the HP Smart App from the App Store (iOS) or Google Play (Android). For desktops, download from the HP website.
- Open the HP Smart App:
- Launch the app and tap Set up a New Printer.
- Connect Your Printer to Wi-Fi:
- Follow the on-screen instructions to connect the printer to your Wi-Fi network. Ensure that your device is on the same Wi-Fi network as the printer.
- Add the Printer:
- Once connected, the app will search for your printer. Select the HP DeskJet 4155e from the list and follow the prompts to complete the setup.
- Print a Test Page:
- To confirm the setup, print a test page using the HP Smart App. This ensures the printer is connected and ready to go.
Step 6: Installing Drivers on Your Computer
If you plan to print from a laptop or desktop, installing the proper drivers is essential.
- Visit the HP Website:
- Go to 123.hp.com or the HP support website and search for the HP DeskJet 4155e.
- Download Drivers:
- Download and install the printer drivers specific to your operating system (Windows or macOS).
- Connect the Printer to Your Computer:
- If you set up the printer via Wi-Fi, your computer should detect it automatically. If not, go to your computer’s Printers & Scanners settings and add the printer manually.
- Print a Test Page:
- After installing the drivers, print a test page to ensure your computer and printer are communicating correctly.
Step 7: Troubleshooting Common Issues
Here are some common problems users may encounter during setup and how to resolve them:
- Wi-Fi Connection Problems:
- Ensure the printer is within range of your router and that you have the correct Wi-Fi password.
- Printer Offline:
- If the printer shows as offline, restart both the printer and your router, then reconnect the printer to the Wi-Fi network.
- Paper Jam or Misfeeds:
- If you experience paper jams, check the paper tray and remove any jammed sheets carefully. Make sure the paper is aligned properly in the input tray.
- Ink Cartridge Error:
- Ensure the cartridges are inserted correctly. If the problem persists, try removing and reinstalling the cartridges or replacing them with new ones.
Conclusion
Setting up the HP DeskJet 4155e is a straightforward process that can be completed in minutes. Whether you’re using the printer for home or small office needs, the wireless capabilities and easy configuration make it a great choice for everyday printing tasks. With the HP Smart App and simple driver installation, you’ll be printing, scanning, and copying in no time.
By following this guide, you can confidently set up your HP DeskJet 4155e, troubleshoot common issues, and enjoy seamless wireless printing from all your devices.
