
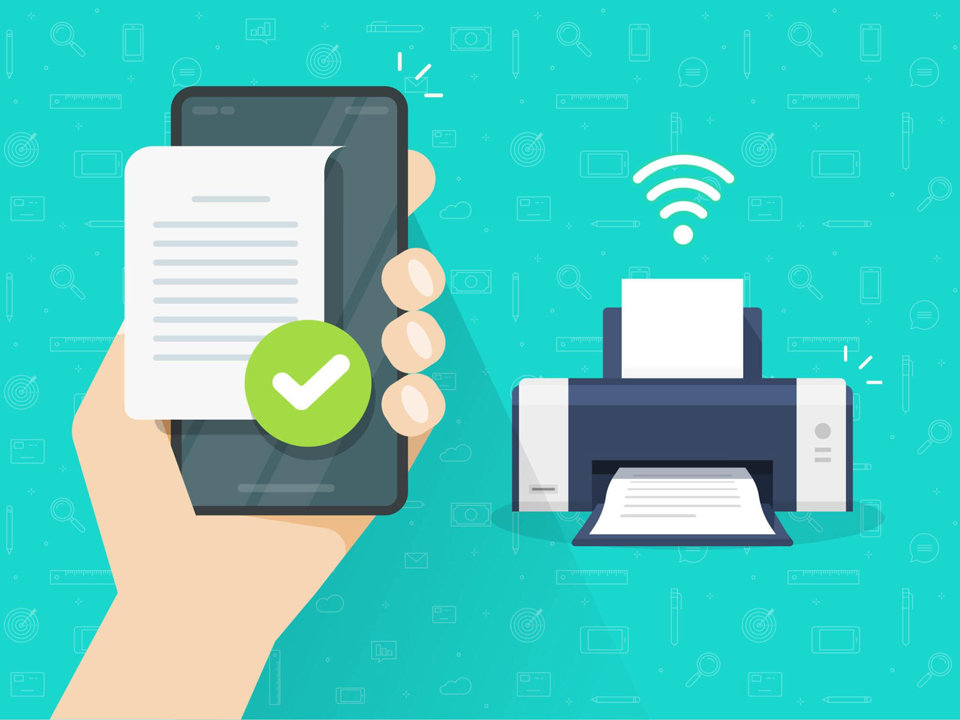
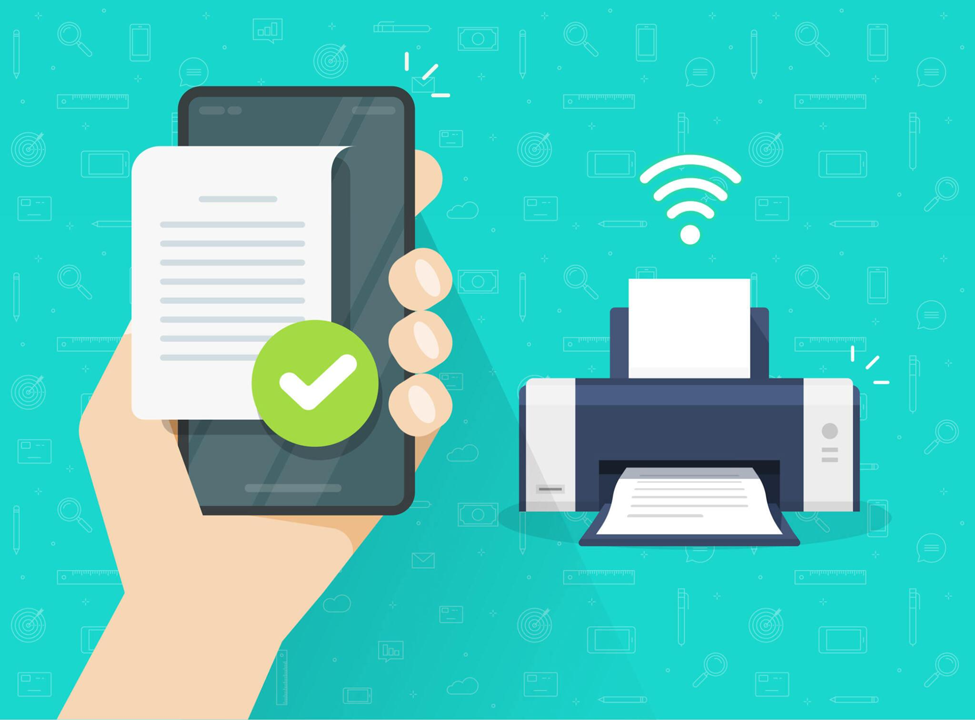
How to Set Up Your Printer Scanner for Seamless Document Scanning

Why Is My Printer Printing Blank Pages? Troubleshooting Printer Output Issues
October 2, 2014
HP DeskJet 4155e Setup: Simplifying Printer Configuration for Users
November 26, 2014
Setting up your printer scanner for seamless document scanning is essential to streamline your workflow, whether you’re working from home, in an office, or handling personal tasks. With the right configuration, you can scan documents with ease and ensure high-quality results every time. This step-by-step guide will walk you through the process of setting up your printer scanner for smooth and efficient document scanning.
Step 1: Unbox and Prepare Your Printer Scanner
Before setting up your printer scanner, make sure it’s ready for use.
- Unbox the Printer Scanner:
- Remove the printer from its packaging.
- Check to ensure you have all necessary components, including the power cord, USB cable (if applicable), and installation guide.
- Remove Protective Tape and Materials:
- Open the scanner lid and remove any tape or protective materials inside.
- Connect the Printer Scanner to Power:
- Plug the printer scanner into a power outlet and turn it on.
Step 2: Install Printer Scanner Drivers
To use your scanner, you need to install the correct drivers on your computer.
- Download the Printer Scanner Drivers:
- Visit the manufacturer’s website (HP, Canon, Epson, Brother, etc.).
- Enter the model number of your printer scanner and download the appropriate drivers for your operating system (Windows, macOS, or Linux).
- Install the Drivers:
- Once downloaded, open the installation file and follow the on-screen instructions to install the drivers on your computer.
- Connect the Printer to Your Computer:
- For wired printers, connect the USB cable from the printer scanner to your computer.
- For wireless printers, ensure both your printer scanner and computer are connected to the same Wi-Fi network. Follow the on-screen prompts in the driver installation to connect the printer wirelessly.
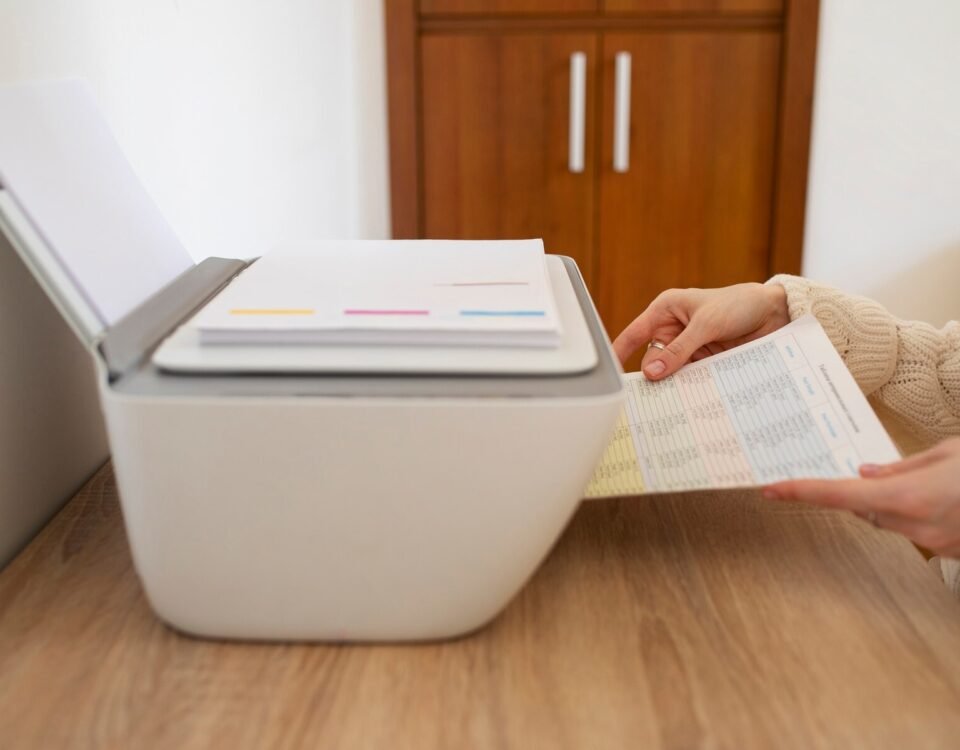
Step 3: Calibrate the Scanner
Calibration ensures your printer scanner is ready for optimal scanning performance.
- Place a Test Document:
- Lift the scanner lid and place a test document face-down on the scanner glass, aligned with the edges.
- Use the Printer’s Control Panel or Software:
- Many printer scanners will prompt you to run a calibration test during setup. You can also initiate calibration via the control panel or scanning software.
- Run the Calibration:
- Follow the on-screen instructions or the control panel’s guide to complete the calibration process. This ensures your scanner is correctly aligned for future scans.
Step 4: Set Up Scanning Software
Depending on your printer scanner, you’ll likely have a dedicated scanning application.
- Download and Install Scanning Software:
- If your printer scanner came with scanning software (like HP Smart, Epson Scan, or Canon IJ Scan Utility), download and install it on your computer.
- Alternatively, use the built-in scanning tools available on your operating system, such as Windows Fax and Scan or Preview on macOS.
- Launch the Scanning Software:
- Open the software on your computer to access scanning options.
- Select Scan Settings:
- Choose the type of scan (color, black and white, grayscale).
- Set the resolution (300 DPI is recommended for documents, while higher DPI is ideal for images).
- Specify the file format (PDF, JPEG, PNG) based on your needs.
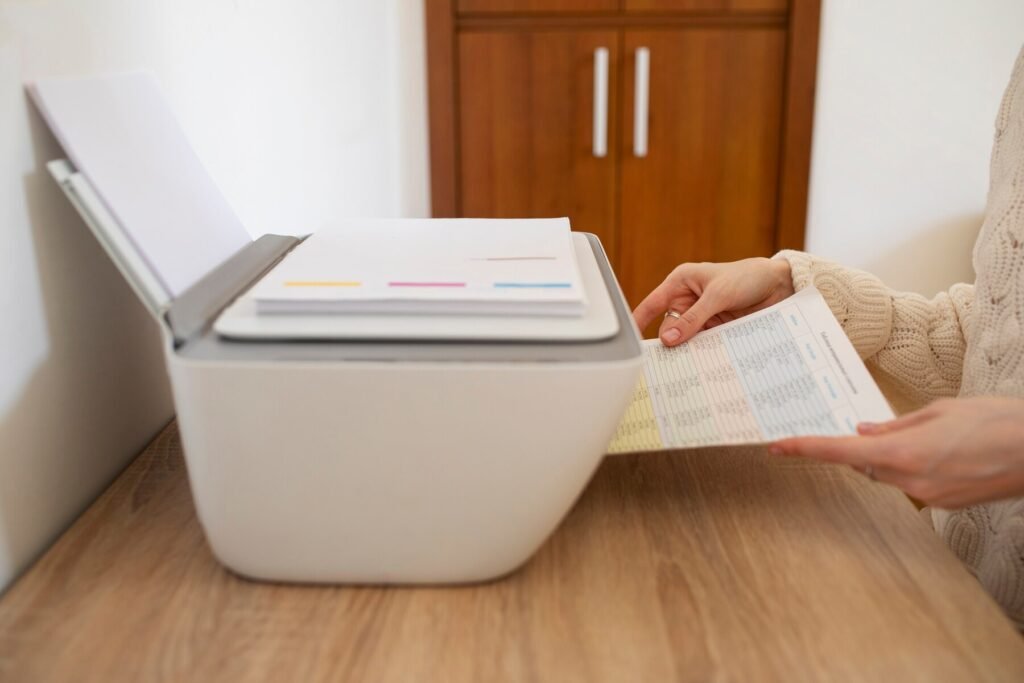
Step 5: Test Scan a Document
Once your scanner is calibrated and the software is set up, it’s time to test the scanning functionality.
- Place a Document on the Scanner:
- Open the scanner lid and place a document face-down on the scanner glass.
- Initiate the Scan:
- Using either the printer’s control panel or the scanning software on your computer, select the scan function.
- Check the Preview:
- Most scanning software allows you to preview the document before finalizing the scan. Adjust the document as needed to ensure it’s properly aligned.
- Complete the Scan:
- Click Scan to begin. Once complete, the document will be saved in the location you selected during setup.
Step 6: Set Up Advanced Features
Many printer scanners come with advanced scanning features, such as duplex (double-sided) scanning, scan to email, or cloud storage integration.
- Duplex Scanning:
- If your printer scanner supports duplex scanning, enable this option in the scan settings to scan both sides of a document automatically.
- Scan to Email:
- To enable the scan to email feature, configure your email settings within the printer’s control panel or scanning software. This allows you to send scanned documents directly to an email address.
- Cloud Storage Integration:
- Some scanners offer integration with cloud storage services like Google Drive, Dropbox, or OneDrive. Set up your cloud account in the scanning software to upload documents directly after scanning.
Step 7: Troubleshooting Common Scanner Issues
Despite following the steps, you might encounter some common scanner issues. Here’s how to troubleshoot:
- Scanner Not Detected:
- Ensure the printer scanner is connected to the correct Wi-Fi network (for wireless printers) or that the USB cable is securely connected (for wired printers).
- Restart both the printer scanner and your computer to reset the connection.
- Poor Scan Quality:
- Check the document resolution settings in the scanning software. For text documents, a resolution of 300 DPI is usually sufficient. For high-quality images, opt for a higher DPI (600+).
- Clean the scanner glass to remove any dust or smudges that may affect scan quality.
- File Size Too Large:
- If your scans are producing large file sizes, reduce the DPI or select a lower-quality file format (like JPEG) for less detailed documents.
Conclusion
Setting up your printer scanner for seamless document scanning is a straightforward process that greatly enhances your productivity. By following these steps—installing drivers, calibrating the scanner, and configuring scanning software—you’ll be ready to scan documents quickly and efficiently. With the additional setup of advanced features like duplex scanning and cloud integration, you can further streamline your scanning tasks for both personal and professional use.
By ensuring everything is correctly configured, you’ll enjoy hassle-free scanning every time!
