
Epson Printer Setup Demystified: Understanding Setup Process for Smooth Operation

Brother Printer WiFi Setup: Connecting Your Printer to Your Wireless Network
January 14, 2014
Mastering Canon Printer Setup: Easy Steps to Get Your Printer Online
March 29, 2014
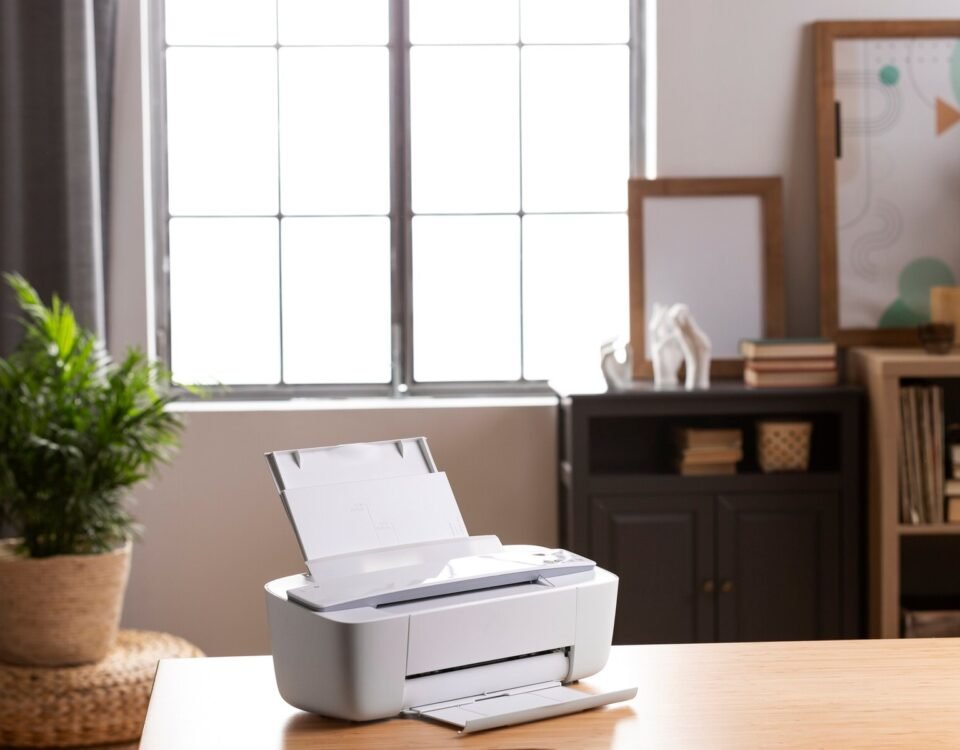
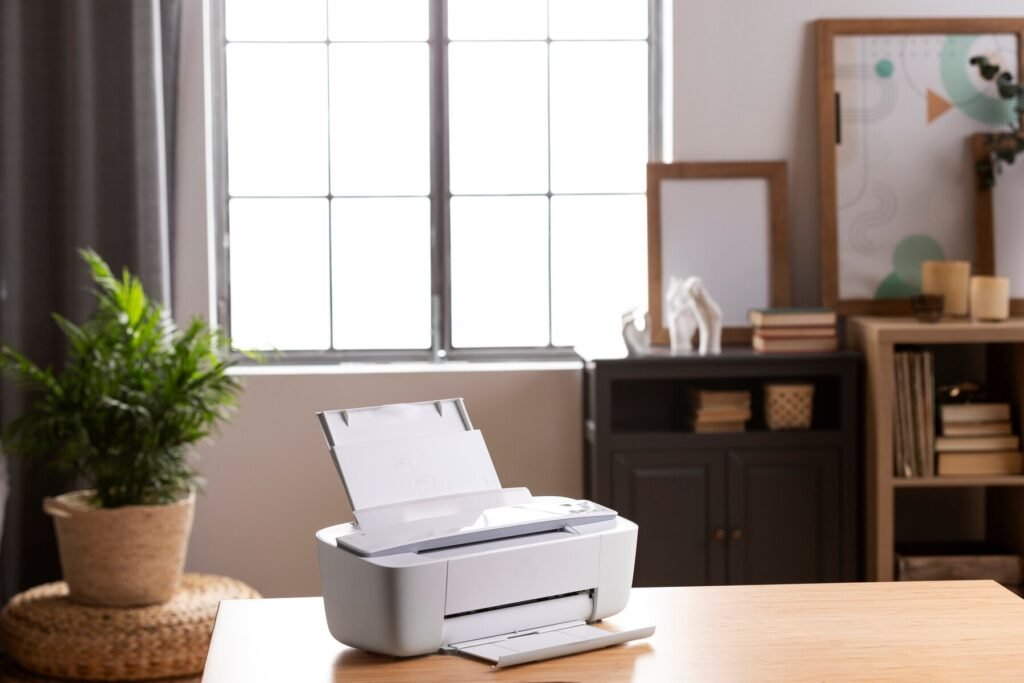
Setting up a new Epson printer can seem complex at first glance, but it’s actually a straightforward process when broken down into simple steps. Whether you’re setting up an Epson printer for home or business use, this guide will walk you through the entire process, from unboxing to printing your first document, ensuring smooth operation.
Step 1: Unboxing and Inspecting the Printer
Begin by carefully unboxing your Epson printer. Remove any packaging materials, protective tapes, and inserts from the printer and its components. Ensure the box includes:
- The Epson printer
- Power cord
- Ink cartridges (or toner for laser models)
- USB cable (if applicable)
- Setup CD or manual (depending on the model)
Place the printer on a flat surface close to a power outlet and near your computer or router for easy access during the setup process.
Step 2: Powering On the Printer
- Plug the power cord into the printer and then into the wall outlet.
- Press the Power button to turn on the printer. It might take a few moments to fully boot up.
- The printer’s display will guide you through initial setup prompts, such as selecting the language, date, and time. Follow the instructions to complete this process.
Now your printer is ready for ink installation.
Step 3: Installing Ink Cartridges or Toner
Epson printers usually come with separate cartridges for each ink color, or a toner cartridge for laser models. Follow these steps for inkjet or laser printers:
For Inkjet Printers:
- Open the ink cartridge access door, usually located on the top or front of the printer.
- Unpack the ink cartridges carefully, ensuring you don’t touch the copper contacts or ink nozzles.
- Insert each cartridge into its corresponding slot (color-coded for easy identification). Push it down until it clicks into place.
- Close the access door and wait for the printer to recognize the cartridges. This may take a few moments as the printer prepares itself for operation.
For Laser Printers:
- Open the toner compartment, following the printer’s manual for specific instructions.
- Remove any protective coverings from the toner cartridge.
- Insert the toner into the designated slot and ensure it’s securely placed.
- Close the compartment.
Step 4: Loading Paper into the Tray
Before proceeding, load the paper into the input tray:
- Adjust the paper guides to fit the size of the paper you are using (usually letter or A4).
- Place a stack of plain paper into the tray, ensuring it’s neatly aligned and doesn’t exceed the maximum paper limit.
- Slide the tray back into place.
Step 5: Connecting the Printer to Your Computer or Network
Option 1: USB Connection
For a direct USB connection, simply follow these steps:
- Connect the USB cable from the printer to your computer.
- Your computer should automatically recognize the printer and install the necessary drivers. If it doesn’t, you can manually download the drivers from the Epson website (more on that in Step 6).
Option 2: Wireless Connection (Wi-Fi)
Epson printers are known for their reliable wireless functionality. Here’s how to connect your printer to your Wi-Fi network:
- On the printer’s display, go to Settings > Network Settings > Wireless LAN Setup.
- Select Wi-Fi Setup Wizard or Easy Wireless Setup, depending on your printer model.
- Your printer will search for available Wi-Fi networks. Select your network from the list.
- Enter your Wi-Fi password when prompted. Once the connection is successful, the printer will notify you.
With the printer now connected to your Wi-Fi, any device on the same network can be set up to print wirelessly.
Step 6: Installing Epson Printer Drivers and Software
Installing the appropriate drivers ensures that your printer communicates effectively with your computer or other devices. There are two ways to install the drivers:
Option 1: Use the Setup CD
If your printer came with a setup CD, insert it into your computer’s disc drive and follow the on-screen instructions to install the necessary drivers. Once installation is complete, restart your computer if prompted.
Option 2: Download the Drivers from Epson’s Website
If your printer didn’t come with a CD or your computer doesn’t have a disc drive, you can easily download the drivers from Epson’s official website:
- Visit Epson’s Support page.
- Enter your printer model number in the search bar.
- Select the correct drivers for your operating system.
- Download and follow the installation instructions. Restart your computer if necessary.
Once the drivers are installed, your printer should be fully functional.
Step 7: Test the Printer
Before using your Epson printer for everyday tasks, it’s essential to test its functionality. Here’s how:
- On your computer, go to Printers & Scanners (Windows) or System Preferences > Printers & Scanners (Mac).
- Select your Epson printer from the list.
- Choose the option to Print a test page or print a sample document from any application.
If the test page prints without issues, your printer is now ready for regular use.
Step 8: Mobile Printing with Epson iPrint App
If you’d like to print from your smartphone or tablet, Epson’s iPrint app makes mobile printing convenient. Here’s how to set it up:
- Download the Epson iPrint app from the Apple App Store or Google Play Store.
- Open the app and connect it to your Wi-Fi network.
- Add your printer by selecting it from the list of available devices on your network.
- Now you can print, scan, and manage print jobs directly from your mobile device.
FAQs
1. What should I do if my Epson printer isn’t connecting to Wi-Fi?
If your printer isn’t connecting to Wi-Fi, make sure your network is functioning correctly and that you’ve entered the correct password. Try moving the printer closer to the router to strengthen the connection. Restart both the printer and the router if necessary. You may also check for firmware updates that could resolve connectivity issues.
2. Can I set up my Epson printer without a computer?
Yes, many Epson printers can be set up using a smartphone or tablet. The Epson iPrint app allows you to connect your printer to Wi-Fi and manage print jobs from your mobile device, without needing a computer.
3. How often should I replace the ink or toner in my Epson printer?
The frequency of ink or toner replacement depends on how much you print. Epson printers will notify you when ink or toner levels are low. It’s a good idea to keep spare cartridges on hand to avoid interruptions in printing.
4. How do I improve print quality if it’s poor?
If your prints are coming out faded or streaky, you can run a printhead cleaning cycle through the printer’s maintenance settings. Additionally, make sure you’re using the correct paper type and that the ink or toner cartridges are properly installed.
5. Can I use third-party ink or toner with my Epson printer?
While third-party ink and toner cartridges may work with some Epson models, it’s generally recommended to use Epson’s official cartridges to ensure optimal print quality and to avoid potential damage to the printer.
By following these steps, you can set up your Epson printer smoothly, ensuring it is ready to handle all your printing needs—whether at home or in a business setting. Enjoy reliable, high-quality printing with your new Epson device!
