
How to Set Up a Printer to Multiple Devices in Your Business Network

Mastering Canon Printer Setup: Easy Steps to Get Your Printer Online
March 29, 2014
123 HP Setup: How to Set Up Your New HP Printer in Minutes
July 14, 2014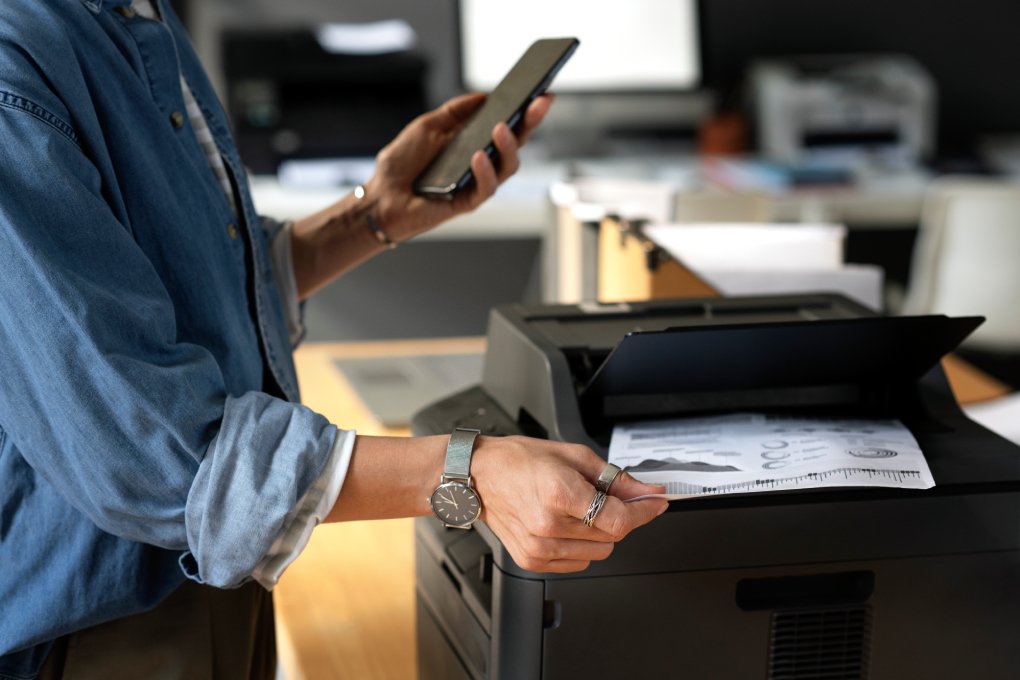
Setting up a printer to be shared among multiple devices in a business network can streamline operations and reduce costs. Whether your company uses a wired or wireless network, connecting multiple devices to a single printer is a straightforward process. Here’s a step-by-step guide on how to set up a printer for shared access across your business network.
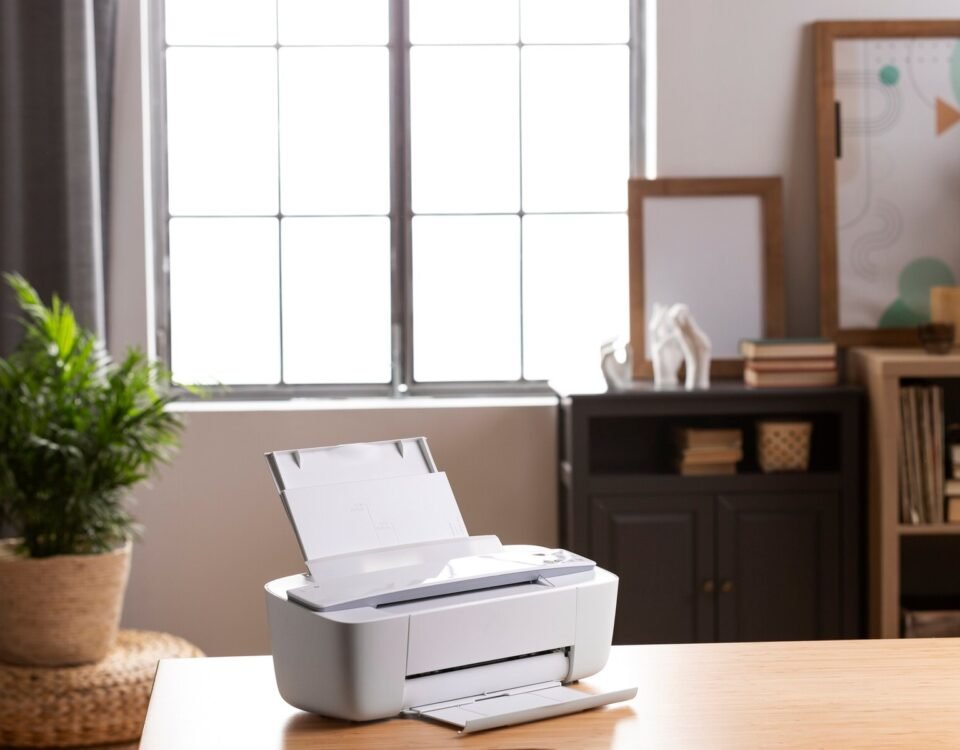
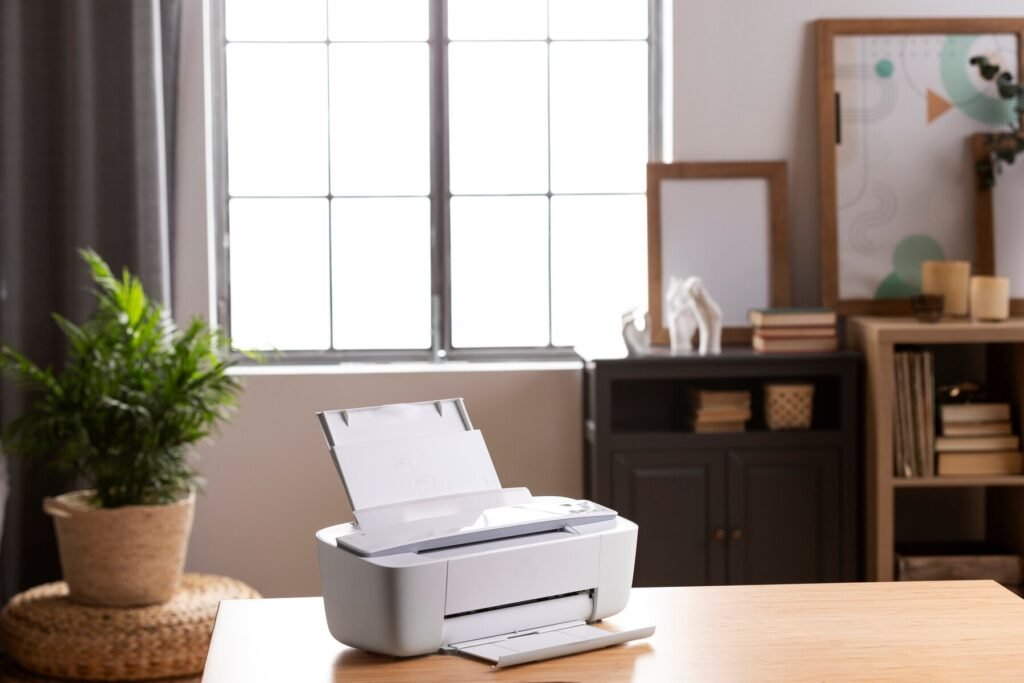
Step 1: Choose the Right Printer
Before diving into the setup process, ensure that your printer is network-capable. Most modern printers, especially those designed for office use, support either wired (Ethernet) or wireless (Wi-Fi) connections.
Here are a few types of printers that work well in business environments:
- Wireless printers: These connect to your Wi-Fi network, allowing multiple users to print from different devices without physical connections.
- Ethernet printers: These are connected directly to your network via an Ethernet cable, offering stable and fast connections.
- USB-shared printers: Although not ideal for large businesses, a USB printer can be shared across the network if connected to a computer that is always powered on.
Step 2: Connect the Printer to the Network
For Wireless Printers:
- Turn on the printer and navigate to the “Network” or “Wireless Setup” section on the printer’s display screen.
- Select “Wireless Setup Wizard” and search for your business’s Wi-Fi network.
- Enter the network password to connect the printer to the Wi-Fi.
- Once connected, the printer will be available on the same network as other devices.
For Wired (Ethernet) Printers:
- Connect the printer to the router using an Ethernet cable.
- Turn on the printer. Most printers will automatically configure themselves for the network when using a wired connection.
- The printer should now be available to all devices connected to the same network.
Step 3: Install the Printer on Each Device
For Windows:
- Go to Settings > Devices > Printers & Scanners.
- Click on Add a printer or scanner. Windows will search for available printers on the network.
- Select the printer and click Add device.
- If the printer doesn’t appear automatically, click The printer I want isn’t listed, and follow the prompts to manually add the printer using its IP address.
For Mac:
- Open System Preferences and click on Printers & Scanners.
- Click the + button to add a new printer.
- Select your network printer from the list. If it’s not listed, you can add it manually by entering the printer’s IP address.
- Follow the on-screen instructions to complete the setup.
For Smartphones and Tablets:
- Install the HP Smart app (or the relevant app for your printer brand) from the Apple App Store or Google Play Store.
- Open the app and select Add Printer.
- The app will automatically detect the printer on your network. Follow the instructions to add it.
Step 4: Share a Printer Connected to a Computer (USB-Connected Printers)
If your printer is connected via USB to a single computer, you can still share it with other devices on the same network.
On Windows:
- Go to Control Panel > Devices and Printers.
- Right-click on the printer and select Printer Properties.
- Navigate to the Sharing tab and check the box labeled Share this printer.
- Name the printer and click OK.
On Mac:
- Go to System Preferences > Sharing.
- Check the box labeled Printer Sharing.
- Select the printer you wish to share from the list.
Step 5: Set Up Printing Preferences and Security
When sharing a printer across multiple devices, it’s essential to set user permissions and preferences to avoid unauthorized access or misuse.
- Assign print quotas: Some advanced printers allow you to set printing limits for users. This feature can help control the cost of paper and ink in a business setting.
- Create user accounts: Use the printer’s built-in admin panel to create user accounts with specific access rights, ensuring only authorized employees can use the printer.
- Monitor print jobs: Some printers allow you to track print jobs and generate usage reports, which is useful for accounting and auditing.
Step 6: Test the Printer
Once the printer is connected and set up on multiple devices, perform a test print from each device to ensure that everything is working correctly. If the test print is successful, your printer is ready to serve your entire business network.
Step 7: Troubleshooting Common Issues
- Printer not appearing on the network: Ensure the printer is connected to the correct network and that the firewall on your computer or network is not blocking the connection.
- Slow printing: If printing is slow, consider moving the printer closer to the router or using an Ethernet connection for more stability.
- Printer offline: This could be caused by a temporary network issue. Restart both the printer and the router to re-establish the connection.
FAQs
1. How many devices can connect to a network printer?
Most network printers can handle dozens of connections at once, depending on the network’s capacity and the printer’s specifications. For small to medium-sized businesses, this should be sufficient.
2. Can I set different printing permissions for employees?
Yes, many printers have admin settings that allow you to set different permissions for users, such as restricting color printing or limiting the number of pages certain users can print.
3. Do I need a dedicated print server for my business?
A dedicated print server is useful for larger businesses with multiple printers and high print volumes. However, for small to medium-sized businesses, most modern network-capable printers can handle sharing without a dedicated server.
4. Can wireless printers work with both Mac and Windows devices?
Yes, most modern wireless printers are compatible with both Mac and Windows operating systems. Ensure the drivers are installed for each platform.
5. What should I do if my printer frequently disconnects from the network?
Try placing the printer closer to the router, ensuring that the printer’s firmware is up to date, and checking for interference from other devices. For a more stable connection, consider using an Ethernet cable instead of Wi-Fi.
By following these steps, you can successfully set up your printer to work with multiple devices on your business network. This setup allows for more efficient printing operations and helps reduce hardware costs by centralizing print resources.
